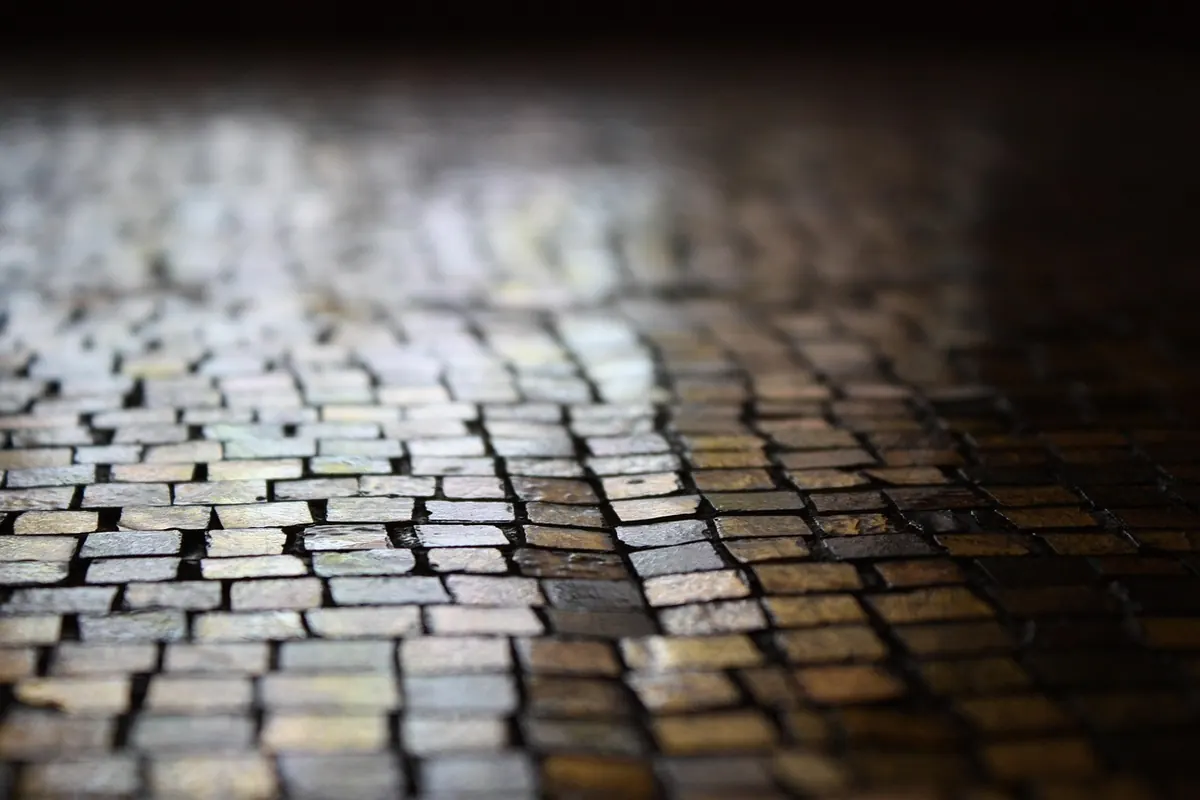
A Beginner's Guide to Cobblestone Paving: Types, Patterns and Tools
Cobbles make a garden look settled, as though the stones have been there for a century rather than since last weekend. They are also unusually forgiving. A sett that sits proud can be lifted and reset without ruining the whole area, and a chipped one can be swapped for a spare. Before you order anything, though, three decisions matter: which stone, which pattern, and what you will need to hire.
What Counts as a Cobble?
Strictly speaking, a cobble is a rounded stone shaped by water — riverbed material. A sett is the squared-off, quarry-cut version. The trade uses the two words interchangeably, and most of what is sold as cobblestone paving is really a sett: commonly 100mm square, or 200 x 100mm, with a sawn, tumbled or cropped face.
Thickness matters more than length and width. For a footpath, 30–40mm is usually adequate if the base underneath is solid. For a driveway, where a car tyre concentrates load on a small area, look for 50mm or more. Buying thin stone and hoping the sub-base will compensate is the most common mistake in the whole job.
Choosing Your Stone
Almost all cobbles on the UK market fall into three families. Each behaves differently under a chisel and under a wheel.
Granite
The hardest and densest of the three, granite shrugs off frost and traffic and keeps a crisp edge for decades. Colours run from pale grey through pink to charcoal. It is also the heaviest: a 200 x 100 x 50mm granite sett has real weight to it, and a full day of laying will find muscles you had forgotten about. Save it for driveways and anywhere with vehicle movement, and move it in small barrowloads.
Sandstone
Sandstone brings warmth — buff, grey, red and the soft yellows of reclaimed-looking setts. It is noticeably softer than granite, which makes it pleasant to cut and shape with a bolster chisel, and tumbled sandstone cobbles look weathered straight out of the pallet. It is more porous, so it stains more readily; on a driveway, consider sealing it. Excellent for patios, paths and courtyards.
Limestone
Limestone gives a pale, cool finish, from creamy white to dove grey. It is the softest of the three and best suited to areas where nothing heavier than a wheelbarrow travels. Riven or tumbled faces provide good grip underfoot; sawn or polished faces can become slick when wet. Avoid acidic cleaners, which will etch the surface.
Laying Patterns That Work
The pattern you choose affects how strong the finished surface is, how much cutting you will do, and how forgiving it is of small variations in stone size.
- Running bond — rows offset by half a stone. The quickest to lay, tolerant of slight size differences, and the best choice for a first attempt.
- Herringbone — setts set at 90 or 45 degrees. The strongest interlock and the standard for driveways, because no continuous joint line runs across the surface. It also means more cutting and more waste.
- Basketweave — pairs of setts alternating direction. Visually busy and reasonably strong, but harder to keep square across a large area.
- Stack bond — a straight grid. Sharp and modern, but the weakest interlock and best kept to light-traffic areas on a very firm base.
- Fans and circles — decorative and striking, but they need a template, careful setting out and plenty of patience.
Leave joints of roughly 10–15mm if you plan to point with mortar. Tighter joints of 5–10mm suit resin or brush-in jointing compounds.
The Tools You Actually Need
You do not need a van full of equipment, but skimping here costs time. The essentials:
- Tape measure, string line, marking paint and pegs
- Spade, shovel, rake and a sturdy wheelbarrow
- A plate compactor (hire one) or a hand tamper for small areas
- Rubber mallet, club hammer and a brick bolster
- Angle grinder with a diamond blade, plus eye protection and a dust mask
- A long spirit level and a straight edge for checking falls
- Screed board, buckets, pointing trowel and a pointing iron or jointing gun
- Knee pads and gloves — you will be on the ground far longer than you expect
The compactor and the grinder are the two items worth hiring rather than buying. Everything else will earn its keep on later jobs.
The Base Does the Work
Cobbles only look handmade and rustic; underneath, the build-up is engineering. Excavate deep enough for the sub-base, the bedding course and the stone itself, then compact MOT Type 1 in layers of about 75–100mm rather than tipping it all in at once. Aim for a fall of roughly 1:80 — about 12mm per metre — running away from the house so water never sits against the wall.
For the bedding, a damp mix of sharp sand and cement at around four or five parts sand to one part cement works well for driveways; paths and patios on a firm base can sometimes be laid on sand alone. If the area needs to drain freely, ask your supplier about a permeable build-up and a suitable jointing material, and check current local rules if you are paving a front garden.
Laying and Pointing
Set out your string lines first and lay from a corner, working back towards your exit so you never walk on fresh work. Bed each sett on a full bed of mortar — not dabs at the corners — and tap it down with the mallet until it sits level with its neighbours. Check the fall every few rows with a straight edge and level rather than trusting your eye.
Cut edges with the bolster where the stone allows, and switch to the grinder for granite. Once the bedding has firmed up, point the joints with a slightly wet mortar, packing it in fully and finishing it with a pointing iron. Keep the surface clean as you go, and let the mortar cure for a few days before traffic returns.
A Sensible First Project
Start small: a path to the shed, or a 3 x 3 metre patio. Order around ten per cent more stone than your measurements suggest, buy it all from one batch so the colour matches, and lay a sample panel to check the pattern before committing to the whole area. Take photographs as you go — they are useful if anything needs revisiting later.
And know your limits. Retaining walls, drainage that has to meet building control, or anything carrying regular vehicle weight is worth a professional eye. If you are unsure about planning rules for hard surfaces, ask your local planning authority before you lift a spade.
Photo: SHOX ART / Pexels